


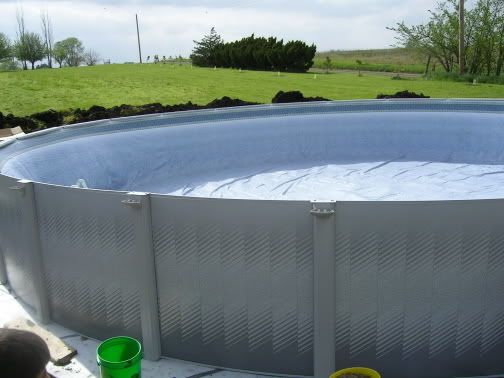
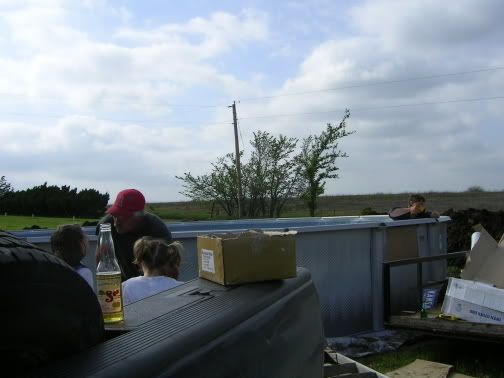
Wanna see what we did today?
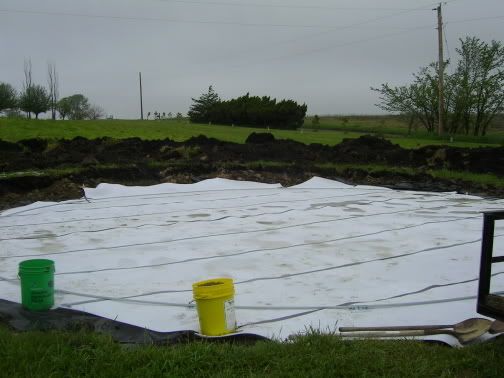
Black 6mil plastic and the first strip of Happy Bottom.
Happy Bottom
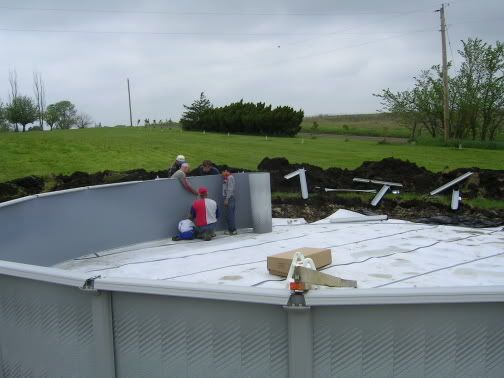
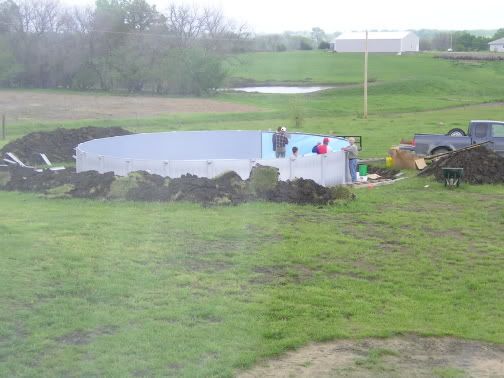
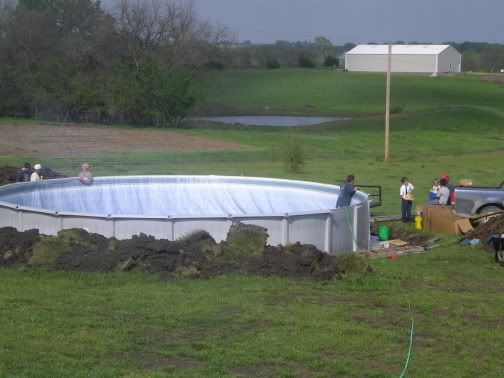
Sides going up (after they had already fallen down once, had to get some buddies to help at this point-10 mile per hr winds)
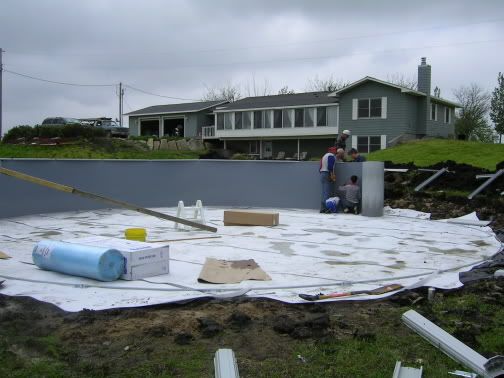
Foam cove down, starting wall foam
This Forum only allows 5 pictures per post. I am going to start another post w/ the rest of the pictures.....

 Reply With Quote
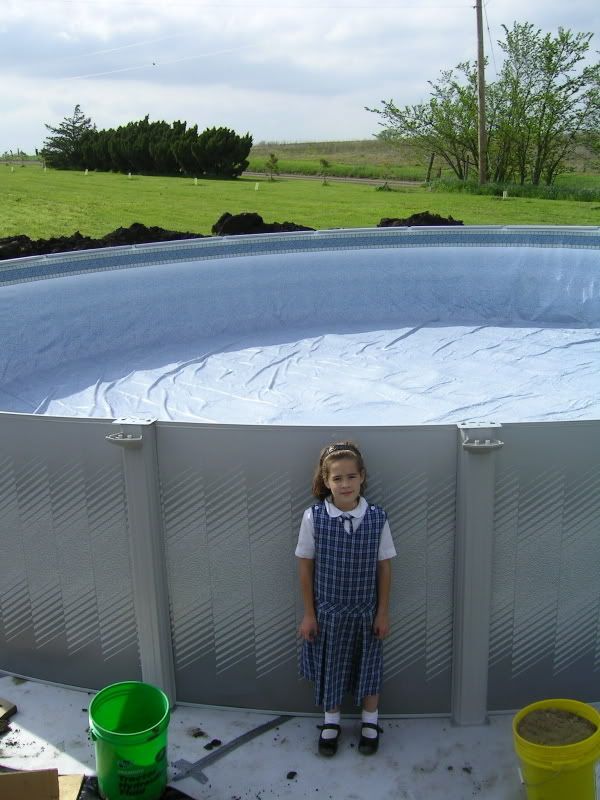


Bookmarks